Introduction
A simple guide for merchants. Use this app to manage GST settings, product tax details, invoices, and tax reports from your Shopify admin.
App listing: GST Invoice For Ecom on Shopify App Store
Shopify Admin → Apps → GST Invoice for Ecom
Features
| Feature |
What it does |
| Dashboard |
Setup checklist, sales overview, and quick links |
| Settings |
Store GSTIN, business details, tax rates, and cart GSTIN |
| Products |
Add HSN codes and GST rates to products |
| Document Templates |
Customize invoice, packing slip, shipping slip, and credit note |
| Orders |
Download / email invoices, credit notes, and slips |
| Reports |
Download GST order and refund Excel reports |
| Profile |
View plan, usage, and account status |
| Error logs |
See app issues if something fails |
Getting started (quick setup)
Follow these steps once after installing the app:
- Open Settings → enter GST number, PAN, and business details → Save
- Open Document Templates → choose a template, add logo/signature → Save
- Open Products → add HSN and GST slab for your products
- (Optional) In Settings → Cart, enable customer GSTIN on the cart page
- Open Orders → download your first invoice PDF
The Dashboard shows a setup checklist so you can track progress.
1. Dashboard
What you can do
- See setup progress
- View order and revenue charts
- Jump to Settings, Products, Orders, and Invoice
How to use
- Open the app from Shopify admin
- Complete any pending setup steps using the action buttons
- Use charts to review recent sales (change date range if needed)
2. Settings
What you can do
- Save GSTIN, PAN, CIN, FSSAI (if needed)
- Save company name, address, and contact details
- Choose Single tax (one rate for all products) or Multiple tax (rate per product)
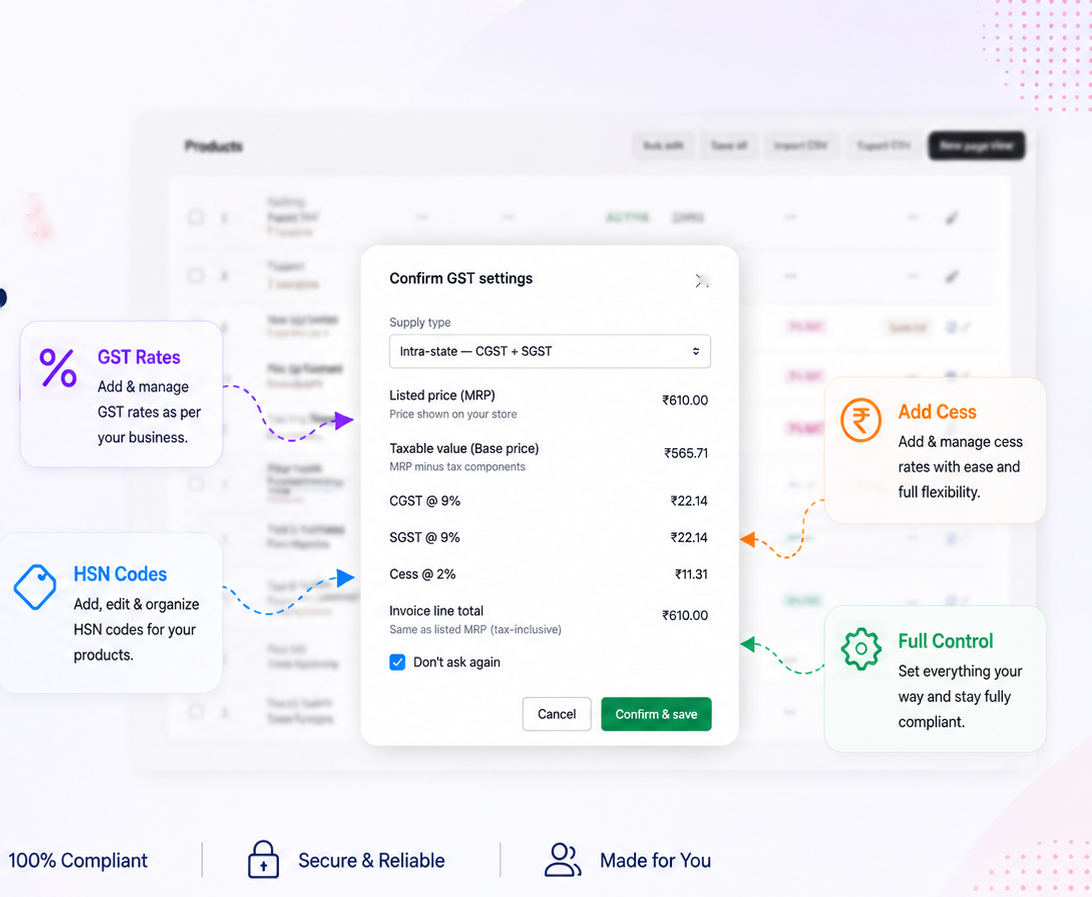
- Add your GST rates (0%, 5%, 12%, 18%, 28%, or custom)
- Enable buyer GSTIN on the cart
How to use
- Go to Settings
- Fill GST & registration and Business information
- Under GST tax mode, pick Single or Multiple tax and add your rates
- Click Save
- For cart GSTIN (optional):
- Click Enable GSTIN on cart (auto), or
- Click Add GSTIN Field to theme, then place it on the cart page
- Save and publish your theme
Tip: If your store has multiple Shopify locations, add a GSTIN for each location in Settings.
3. Products
What you can do
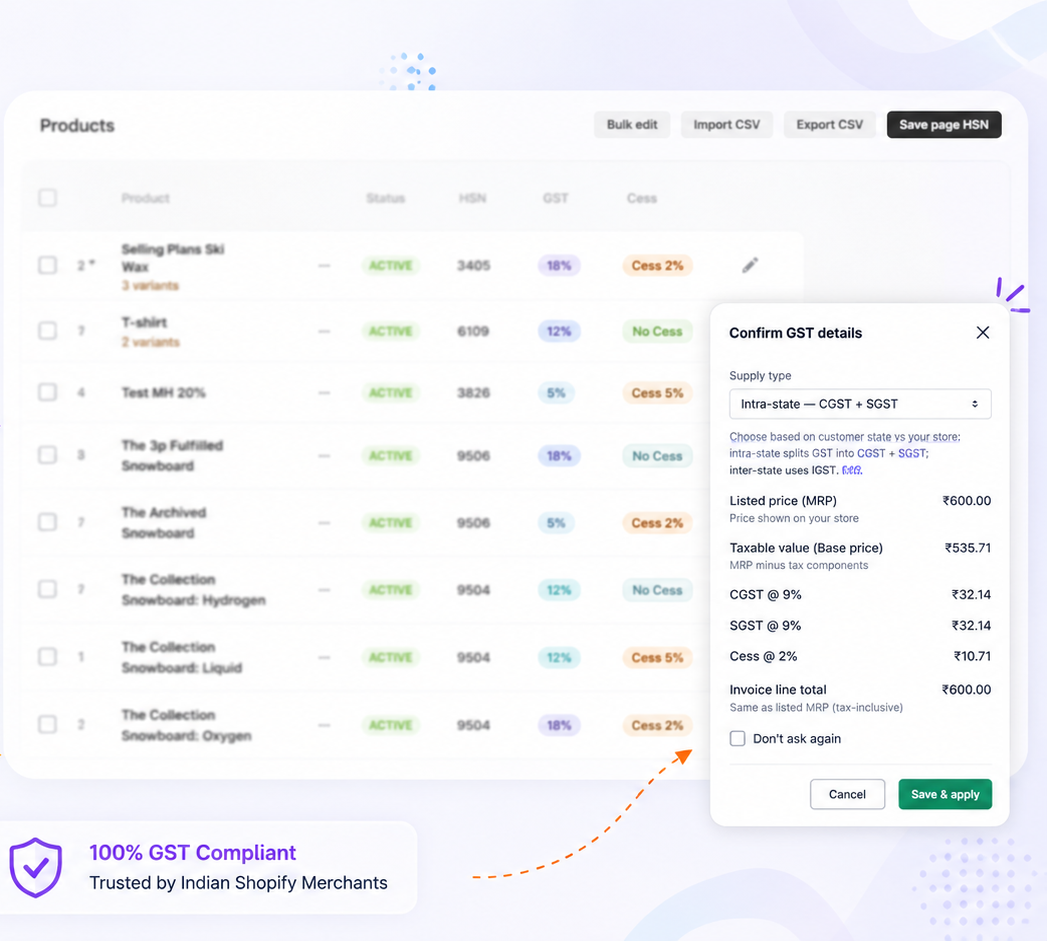
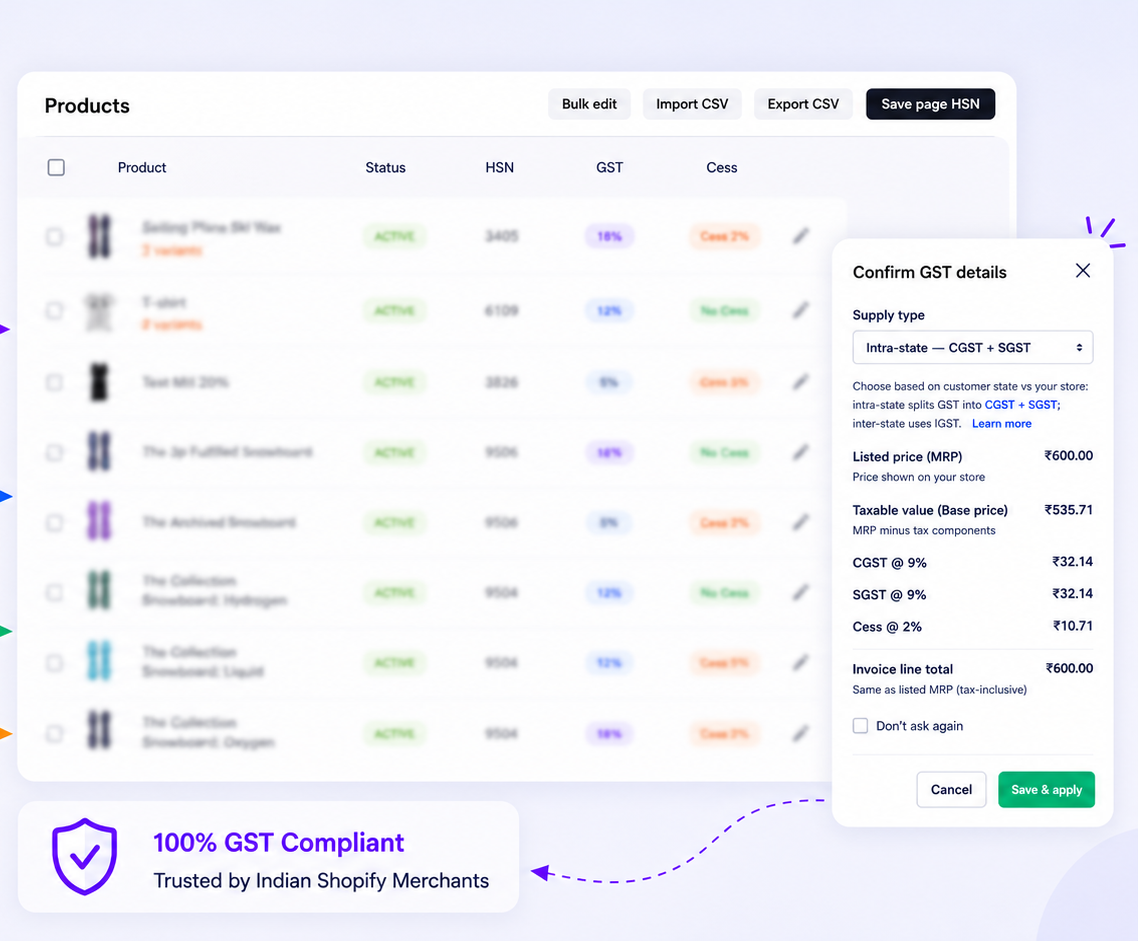
- Set HSN for each product
- Set GST slab (when using Multiple tax)
- Add CESS if needed
- Edit many products at once (bulk edit)
- Import / export HSN & tax data via CSV
How to use
- Go to Products
- Search or filter products (e.g. HSN missing)
- Enter HSN (and GST slab if Multiple tax)
- Click Save on the row, or use bulk save / bulk edit
- To update many products: Export CSV → edit → Import CSV
4. Document Templates
What you can do
- Choose invoice layout/template
- Set invoice heading, prefix, number series, footer
- Upload logo, signature, and paid/unpaid/cancelled stamps
- Customize packing slip, shipping slip, and credit note
- Turn on auto-email for invoices / credit notes (if enabled)
How to use
- Go to Document Templates
- Open the tab you need: Invoice, Packing slip, Shipping slip, or Credit note
- Update fields and images
- Preview sample if available
- Click Save
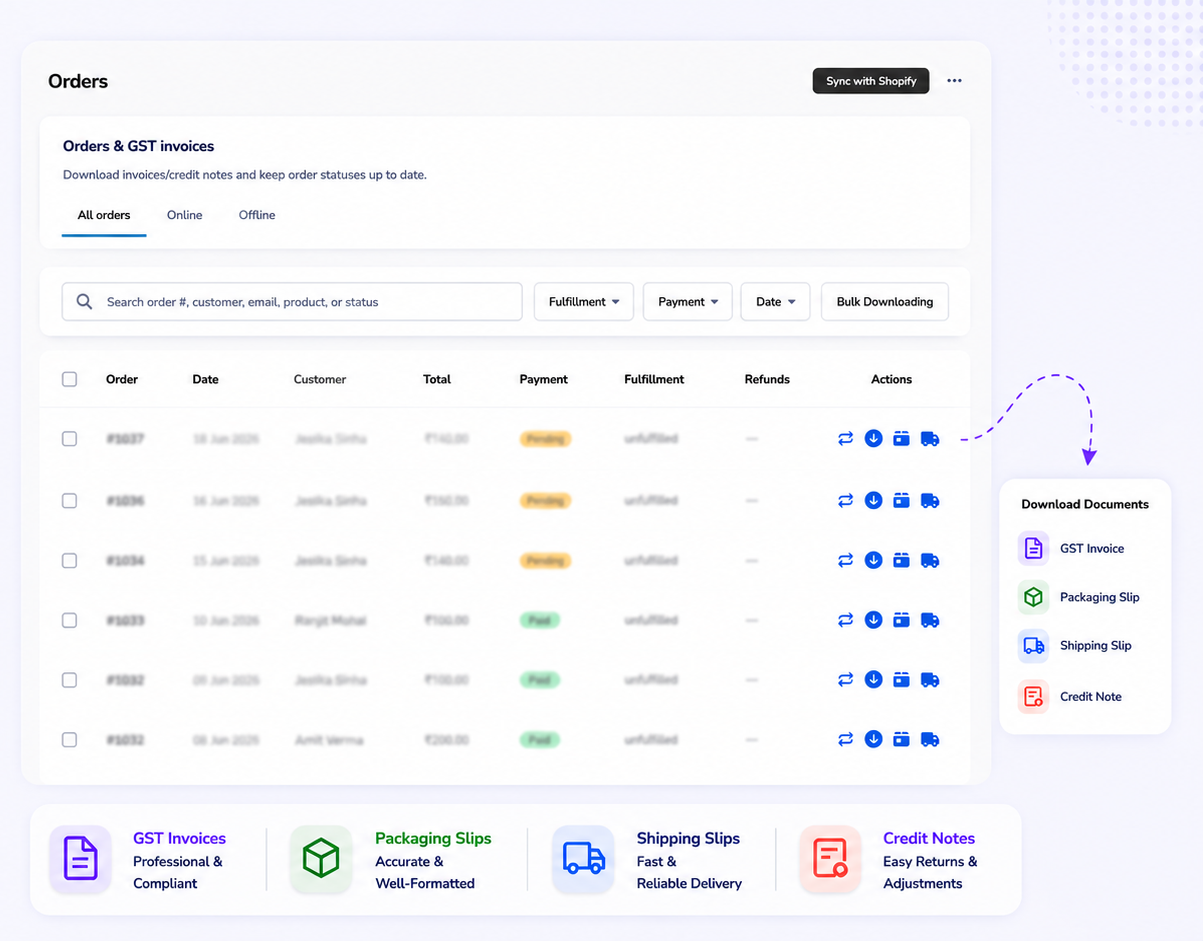
5. Orders
What you can do
- View online (and offline) orders
- Filter by date, payment, or fulfillment status
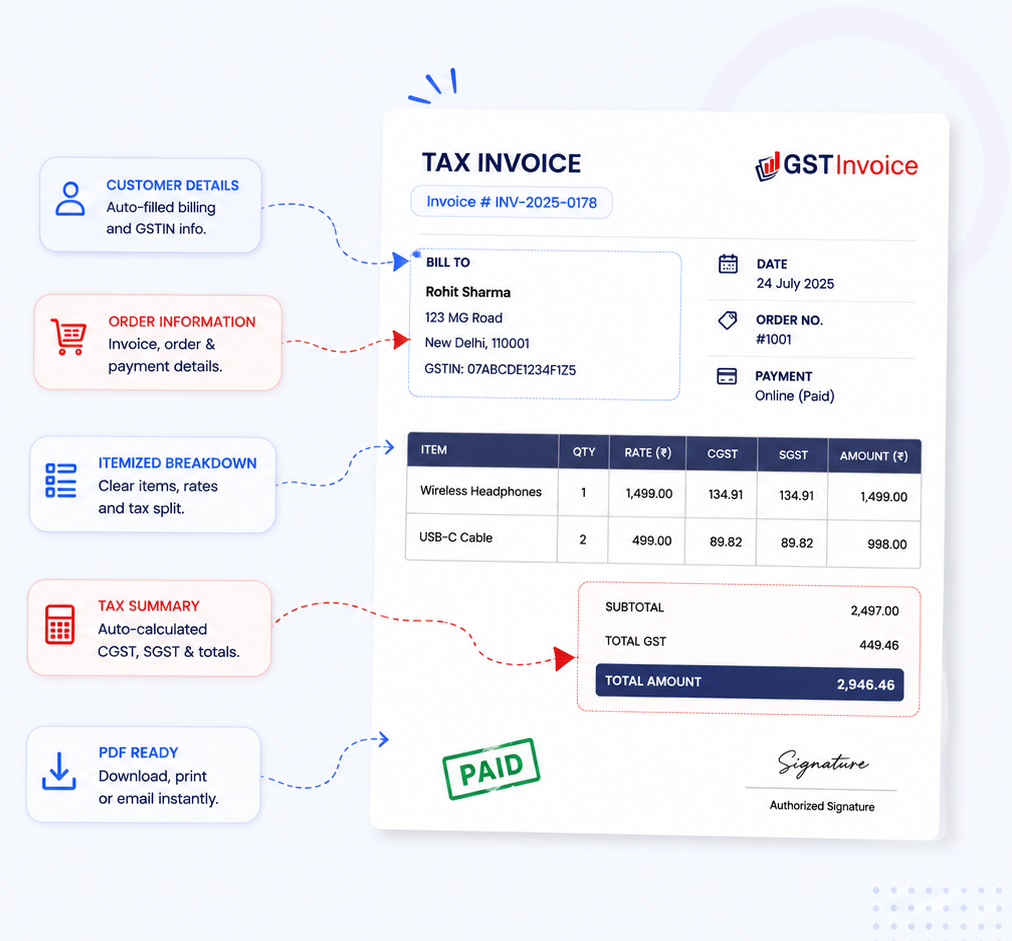
- Download GST invoice PDF
- Email invoice to customer
- Download credit note for refunds
- Download packing / shipping slips
- Bulk download invoices (ZIP)
How to use
- Go to Orders
- Find the order (search or filters)
- Click Download invoice (or email / credit note / slip)
- For many orders: select orders → Bulk Downloading → download invoices or credit notes
Note: Save Settings first. Invoices use your store GST and business details.
6. Reports
What you can do
- Download Order tax report (Excel)
- Download Refund tax report (Excel)
How to use
- Go to Reports
- Choose From and To dates (max 12 months)
- Click Download for the report you need
7. Profile
What you can do
- See store info and subscription plan
- Check invoice usage / limits
- Renew or change plan
- View recent activity and account health
How to use
- Go to Profile
- Review plan and usage
- Use renew / plan options if you need to upgrade
8. Error logs
What you can do
- View errors and warnings from the app
- Filter by Errors / Warnings
- Dismiss resolved items
How to use
- Go to Error logs if invoices or sync look wrong
- Open a log for more detail
- Fix the related setting/product/order, then dismiss if resolved
Everyday workflow
- Keep Settings and Document Templates up to date
- When you add products → set HSN and GST on Products
- When orders come in → download or email invoices from Orders
- For refunds → download credit notes from Orders
- For filing / accounts → download Excel from Reports
Need help?
- Start from the Dashboard checklist if something is missing
- Check Error logs if a download or save fails
- Make sure Settings are saved before generating invoices or reports
More help: